Homemade Peppermint Mocha Ice Cream: Your Easy Recipe for a Creamy Delight
Imagine a scoop that captures the invigorating zing of peppermint, the decadent richness of chocolate, and a subtle coffee kick, all in a velvety smooth, frozen embrace. While holiday seasons often herald the return of beloved peppermint mocha treats, why limit this exquisite flavor combination to just a few months? With this easy-to-follow recipe, you can bring the magic of homemade peppermint mocha ice cream into your kitchen any time of year. Perfect for impressing guests, indulging yourself, or simply enjoying a truly exceptional dessert, this guide will walk you through every ingredient, step, and tip to create an irresistible creamy delight from scratch.
This dreamy dessert isn't just about combining flavors; it's about striking a perfect balance. The warmth of chocolate is beautifully contrasted by the refreshing coolness of mint, making for a sophisticated yet comforting treat. Forget those expensive, small pints from the store – making your own allows for unparalleled freshness, quality, and complete control over every delicious detail. Get ready to churn up some pure happiness!
Why Homemade Peppermint Mocha Ice Cream Reigns Supreme
There's a special kind of satisfaction that comes from crafting your favorite treats at home, and
Skip Expensive Pints: Make Your Own Peppermint Mocha Ice Cream is a prime example. While store-bought options can be tempting, they often come with a hefty price tag and a list of ingredients you might not recognize. Opting for homemade not only saves you money but also offers a wealth of other benefits:
- Unbeatable Freshness and Quality: When you make your own ice cream, you control the ingredients. This means using high-quality dairy, pure extracts, and fresh mix-ins, resulting in a superior flavor and texture that mass-produced ice creams simply can't match. You avoid artificial flavors, colors, and preservatives, ensuring a purer taste experience.
- Tailored to Your Taste: Do you prefer a bolder mint flavor? More chocolate chunks? A lighter coffee note? Making it yourself allows you to adjust the intensity of the peppermint, the amount of sugar, and the type and quantity of mix-ins. This is where your creativity truly shines, making it a Creamy Peppermint Mocha Ice Cream: Perfect for Holidays & Custom Mix-Ins, tailored precisely to your palate.
- Cost-Effectiveness: As delightful as premium ice cream pints are, their cost can quickly add up. Ingredients for homemade ice cream are generally more budget-friendly, allowing you to produce a larger quantity of superior ice cream for less.
- The Joy of Creation: There's a unique pleasure in the process of making something delicious from scratch. The aroma of the developing base, the whirring of the ice cream maker, and the anticipation of that first scoop create a memorable culinary experience.
Unlocking the Creamy & Dreamy Texture: The Science Behind the Scoop
The secret to truly luscious, scoopable ice cream lies in understanding the role of each ingredient. Our goal is to achieve a texture that is smooth, rich, and melts delightfully on the tongue, without being overly icy or hard.
- Heavy Cream and Whole Milk: The Foundation of Creaminess
The combination of heavy cream and whole milk is absolutely crucial for a rich and creamy base. Heavy cream, with its high-fat content (typically 36% or more), is the star. Fat molecules don't freeze solid like water, so they interfere with ice crystal formation, resulting in a smoother, more luxurious texture. Mixing it with whole milk (which has less fat but more flavor than skim milk) creates the perfect balance, ensuring the ice cream isn't *too* dense while maintaining its velvety mouthfeel.
- Sugar: Sweetness and Texture Enhancer
Granulated sugar not only provides sweetness but also plays a vital role in the ice cream's texture. Sugar acts as an anti-freeze, lowering the freezing point of the mixture. This means the ice cream will be softer and easier to scoop directly from the freezer, rather than rock-hard. Ensure the sugar is fully dissolved in the liquid base for a smooth consistency.
- Cocoa Powder: Deep Chocolate Indulgence
For that signature mocha flavor, good quality cocoa powder is essential. Dutch-processed cocoa powder tends to offer a darker color and a smoother, less bitter chocolate flavor compared to natural cocoa. Sifting the cocoa powder into your liquid base is important to prevent any lumps, ensuring a uniform chocolate distribution. The deep chocolate notes will perfectly complement the mint and coffee.
- Espresso or Strong Coffee: The Mocha Kick
A splash of cooled espresso or strong brewed coffee is what elevates this from a simple chocolate mint to a true peppermint *mocha* ice cream. Coffee doesn't just add its own flavor; it also significantly enhances and deepens the chocolate notes, making them taste richer and more complex. Ensure it's cooled to room temperature before adding it to your base to avoid curdling the dairy.
- Pure Vanilla and Peppermint Extracts: The Aromatic Heart
Pure vanilla extract is a ubiquitous ingredient in desserts for a reason – it rounds out and enhances all the other flavors, adding a subtle warmth. Pure peppermint extract, however, is the star of the show. A little goes a long way, so it's best to start with the recommended amount and adjust to your preference. Always opt for *pure* extracts for the best, most natural flavor.
Your Step-by-Step Guide to Crafting Peppermint Mocha Ice Cream
Making homemade ice cream might sound daunting, but with an ice cream maker, it's surprisingly straightforward and incredibly rewarding.
Phase 1: Preparing Your Flavorful Base
- Gather Your Ingredients: Before you begin, measure out all your components: 2 cups heavy cream, 1 cup whole milk, 3/4 cup granulated sugar, 1 teaspoon pure vanilla extract, 1 teaspoon pure peppermint extract, 1/2 cup sifted cocoa powder, 1/2 cup cooled espresso or strong coffee, 1/2 cup crushed peppermint candies, and 1/4 cup dark chocolate chips.
- Whisk the Liquids and Sugar: In a large mixing bowl, combine the heavy cream, whole milk, and granulated sugar. Whisk vigorously until the sugar is completely dissolved. This can take a few minutes, and you shouldn't feel any grit when you rub a small amount of the mixture between your fingers.
- Add Extracts: Stir in the pure vanilla extract and pure peppermint extract. Give it a good stir to ensure they are well distributed.
- Sift in Cocoa Powder: Using a fine-mesh sieve, gradually sift the cocoa powder into the mixture, whisking constantly. This step is crucial for preventing lumps and ensuring a smooth, uniform chocolate base.
- Incorporate Cooled Coffee: Pour in the cooled espresso or strong coffee and blend it thoroughly into the mixture until everything is smooth and well combined.
- Prepare Mix-Ins (Optional at this stage): While the reference context suggests adding crushed peppermint candies and chocolate chips now, for optimal crunch and to protect your ice cream maker's dasher, many prefer to fold these in *after* churning, just before transferring to the freezer. This ensures the peppermint pieces remain distinct and crunchy. If your machine can handle it, adding them now is fine, but be mindful.
- Chill the Mixture: For the best results, cover the bowl and chill the ice cream base in the refrigerator for at least 2-4 hours, or even overnight. A colder base churns faster and produces a creamier final product.
Phase 2: The Churning Magic
- Set Up Your Ice Cream Maker: Ensure your ice cream maker's bowl has been frozen for the recommended time (usually 12-24 hours). Assemble your machine according to the manufacturer's instructions.
- Churn the Mixture: Pour the chilled peppermint mocha base into your ice cream maker. Turn on the machine and churn for approximately 20 to 30 minutes, or until the mixture reaches the consistency of soft-serve ice cream. It should be thick, fluffy, and significantly increased in volume as air is incorporated. This aeration is key to a light, creamy texture.
- Add Mix-Ins (if not added earlier): If you held off on adding the crushed peppermint candies and chocolate chips, now is the time! Gently fold them into the soft-churned ice cream.
Phase 3: The Patience Game – Freezing to Perfection
- Transfer to an Airtight Container: Spoon the freshly churned, soft ice cream into a freezer-safe, airtight container.
- Prevent Ice Crystals: For an extra layer of protection against ice crystals, press a piece of parchment paper or plastic wrap directly onto the surface of the ice cream before sealing the container.
- Freeze Until Firm: Place the container in the coldest part of your freezer. Allow it to freeze for a minimum of 4 hours, or preferably overnight, until it reaches a firm, scoopable consistency. Remember, patience is indeed a virtue here, as this allows the flavors to meld and the ice cream to fully set.
Elevating Your Peppermint Mocha Ice Cream: Tips, Tricks & Variations
One of the greatest joys of making homemade ice cream is the freedom to experiment and customize. Here are some ideas to make your peppermint mocha ice cream truly your own:
- Adjusting Peppermint Power: Peppermint extract can be potent. Start with 1 teaspoon as recommended, but if you love an intense minty kick, you can add another 1/4 or 1/2 teaspoon during the churning process, tasting as you go. For a more subtle hint, reduce the initial amount.
- Beyond the Basics: Exciting Mix-Ins:
- More Chocolate: Experiment with white chocolate chips, milk chocolate chunks, or even finely chopped dark chocolate bars for varying levels of sweetness and texture.
- Crunchy Delights: Consider adding crushed chocolate-covered mints, broken Oreo cookies, or even mini brownie bits for extra texture and flavor dimension.
- Syrup Swirls: Just before the final freeze, gently swirl in some chocolate fudge, caramel sauce, or an extra dash of peppermint syrup for a marbled effect.
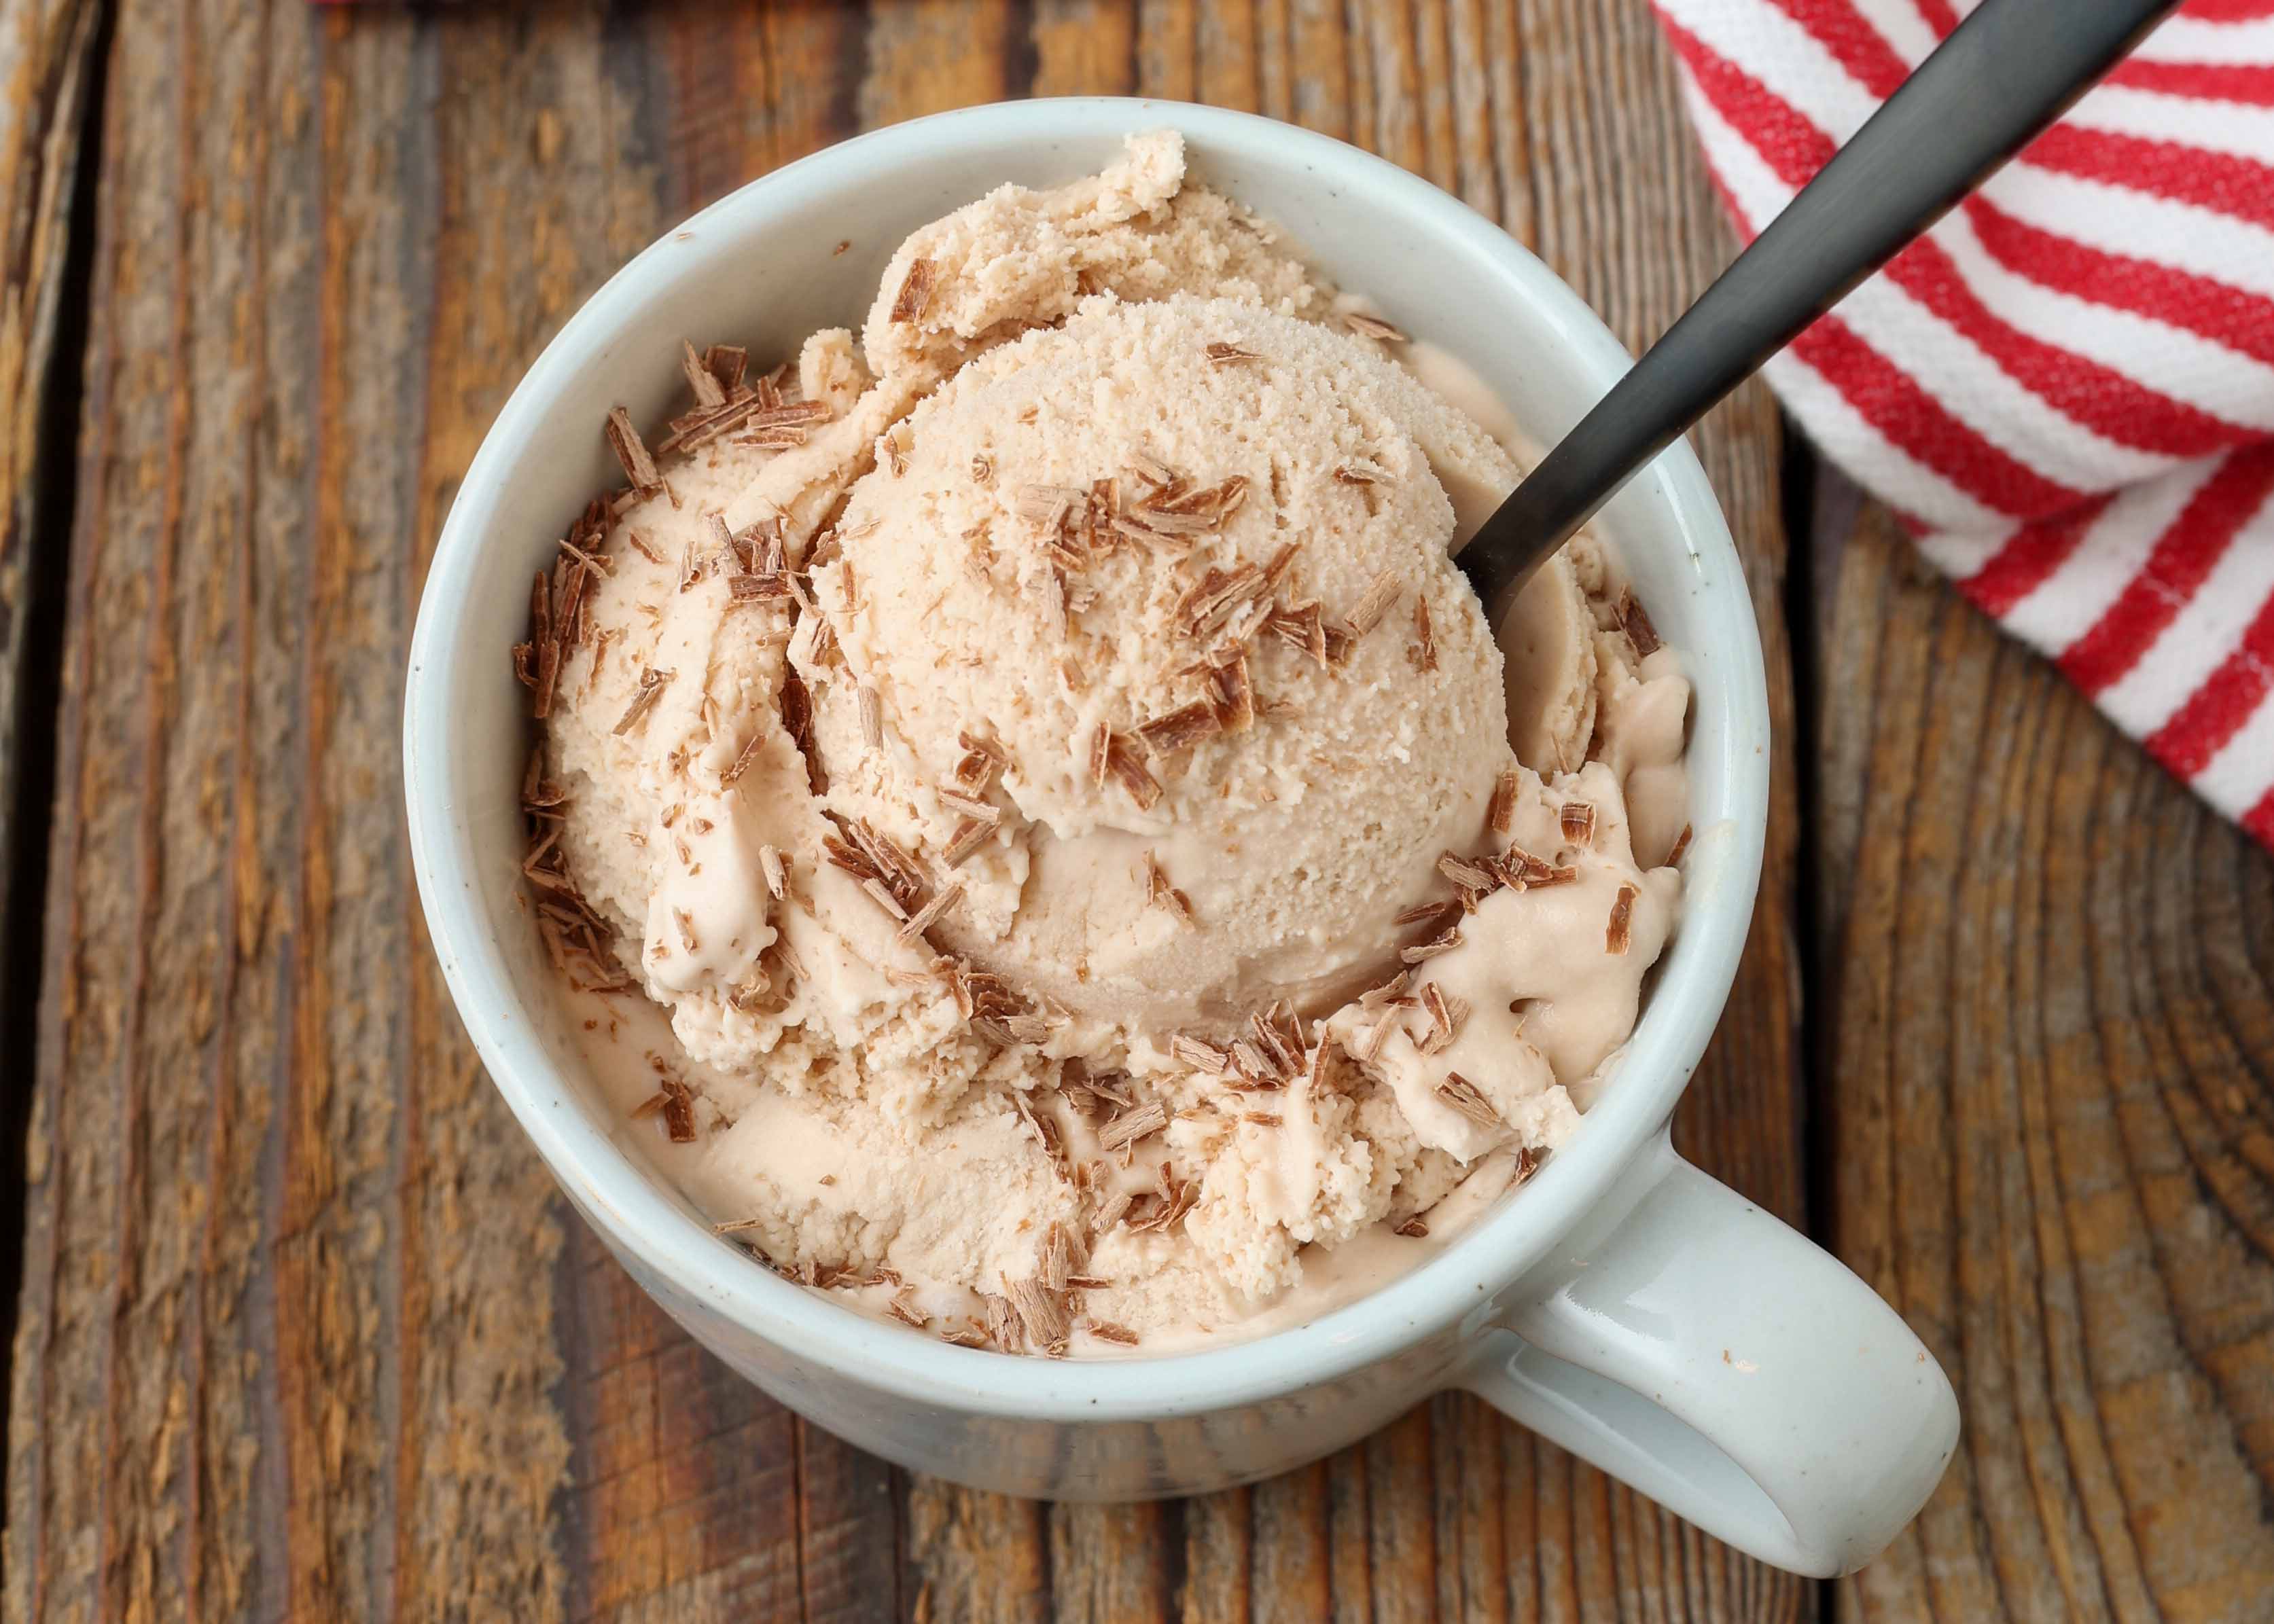
- Decadent Topping Ideas: Serve your scoops with a generous dollop of homemade whipped cream, a drizzle of rich chocolate syrup, more crushed peppermint candies, chocolate shavings, or a dusting of cocoa powder. For an adult twist, a splash of peppermint schnapps or Kahlúa over your scoop can be delightful.
- Dietary Adaptations:
- Dairy-Free: For a dairy-free version, substitute heavy cream with full-fat coconut cream (chilled overnight, use the thick cream on top) and whole milk with a rich plant-based milk like oat milk or almond milk. Note that the texture may be slightly different due to varying fat contents.
- Sugar-Free: You can replace granulated sugar with a sugar substitute like erythritol or stevia, following the specific product's conversion ratio. Be aware that sugar substitutes can affect the final texture and freezing point of the ice cream, potentially making it harder.
- Troubleshooting for Perfection: If your ice cream turns out too icy, it might be due to insufficient fat, not enough sugar, or too much water content. Ensure your dairy is full-fat and your sugar is fully dissolved. If it's too hard, try letting it sit at room temperature for 5-10 minutes before scooping.
This homemade peppermint mocha ice cream is a versatile treat, perfect for holiday gatherings, a festive weeknight dessert, or simply when you crave a burst of refreshing indulgence. Its rich flavors and creamy texture are sure to delight anyone who tries it.
Conclusion
Creating your own homemade peppermint mocha ice cream is a culinary adventure that promises rich rewards. From the satisfaction of skipping those expensive store-bought pints to the joy of customizing every aspect of its flavor and texture, this recipe offers a truly superior dessert experience. By understanding the simple science behind creamy ice cream and following our detailed steps, you can easily whip up a batch of this enchanting treat whenever the craving strikes. So, gather your ingredients, fire up your ice cream maker, and prepare to indulge in a dreamy, creamy delight that truly captures the invigorating essence of peppermint, the richness of chocolate, and the subtle allure of coffee. Your taste buds will thank you!